
Drawings & Markups
TL;DR: Upload your drawing PDFs, organize them into folders, open them in the viewer, and create Markup Pages—the required workspace for all takeoffs and measurements.
Before You Start
Make sure you have:
- Construction drawings in PDF format
- A project created in AedisPro
- Required permissions to upload files or create markups
- Folder structure planned if uploading large drawing sets
Note: At the moment, AedisPro only supports PDF files for drawings. Image formats (PNG/JPG) and DWG files are not yet supported.
Overview
The Files and Markups sections allow you to upload, organize, and prepare your drawings for takeoff. All measurement workflows begin with creating at least one Markup Page.
Important: Raw PDFs cannot be measured directly—every measurement must be placed on a markup.
Uploading Drawing PDFs
You can upload:
- Individual PDF files, or
- Entire folders of PDFs
This gives flexibility for both small and large drawing packages.
1. Open the Files Tab
Inside your project, click Files in the top navigation bar.
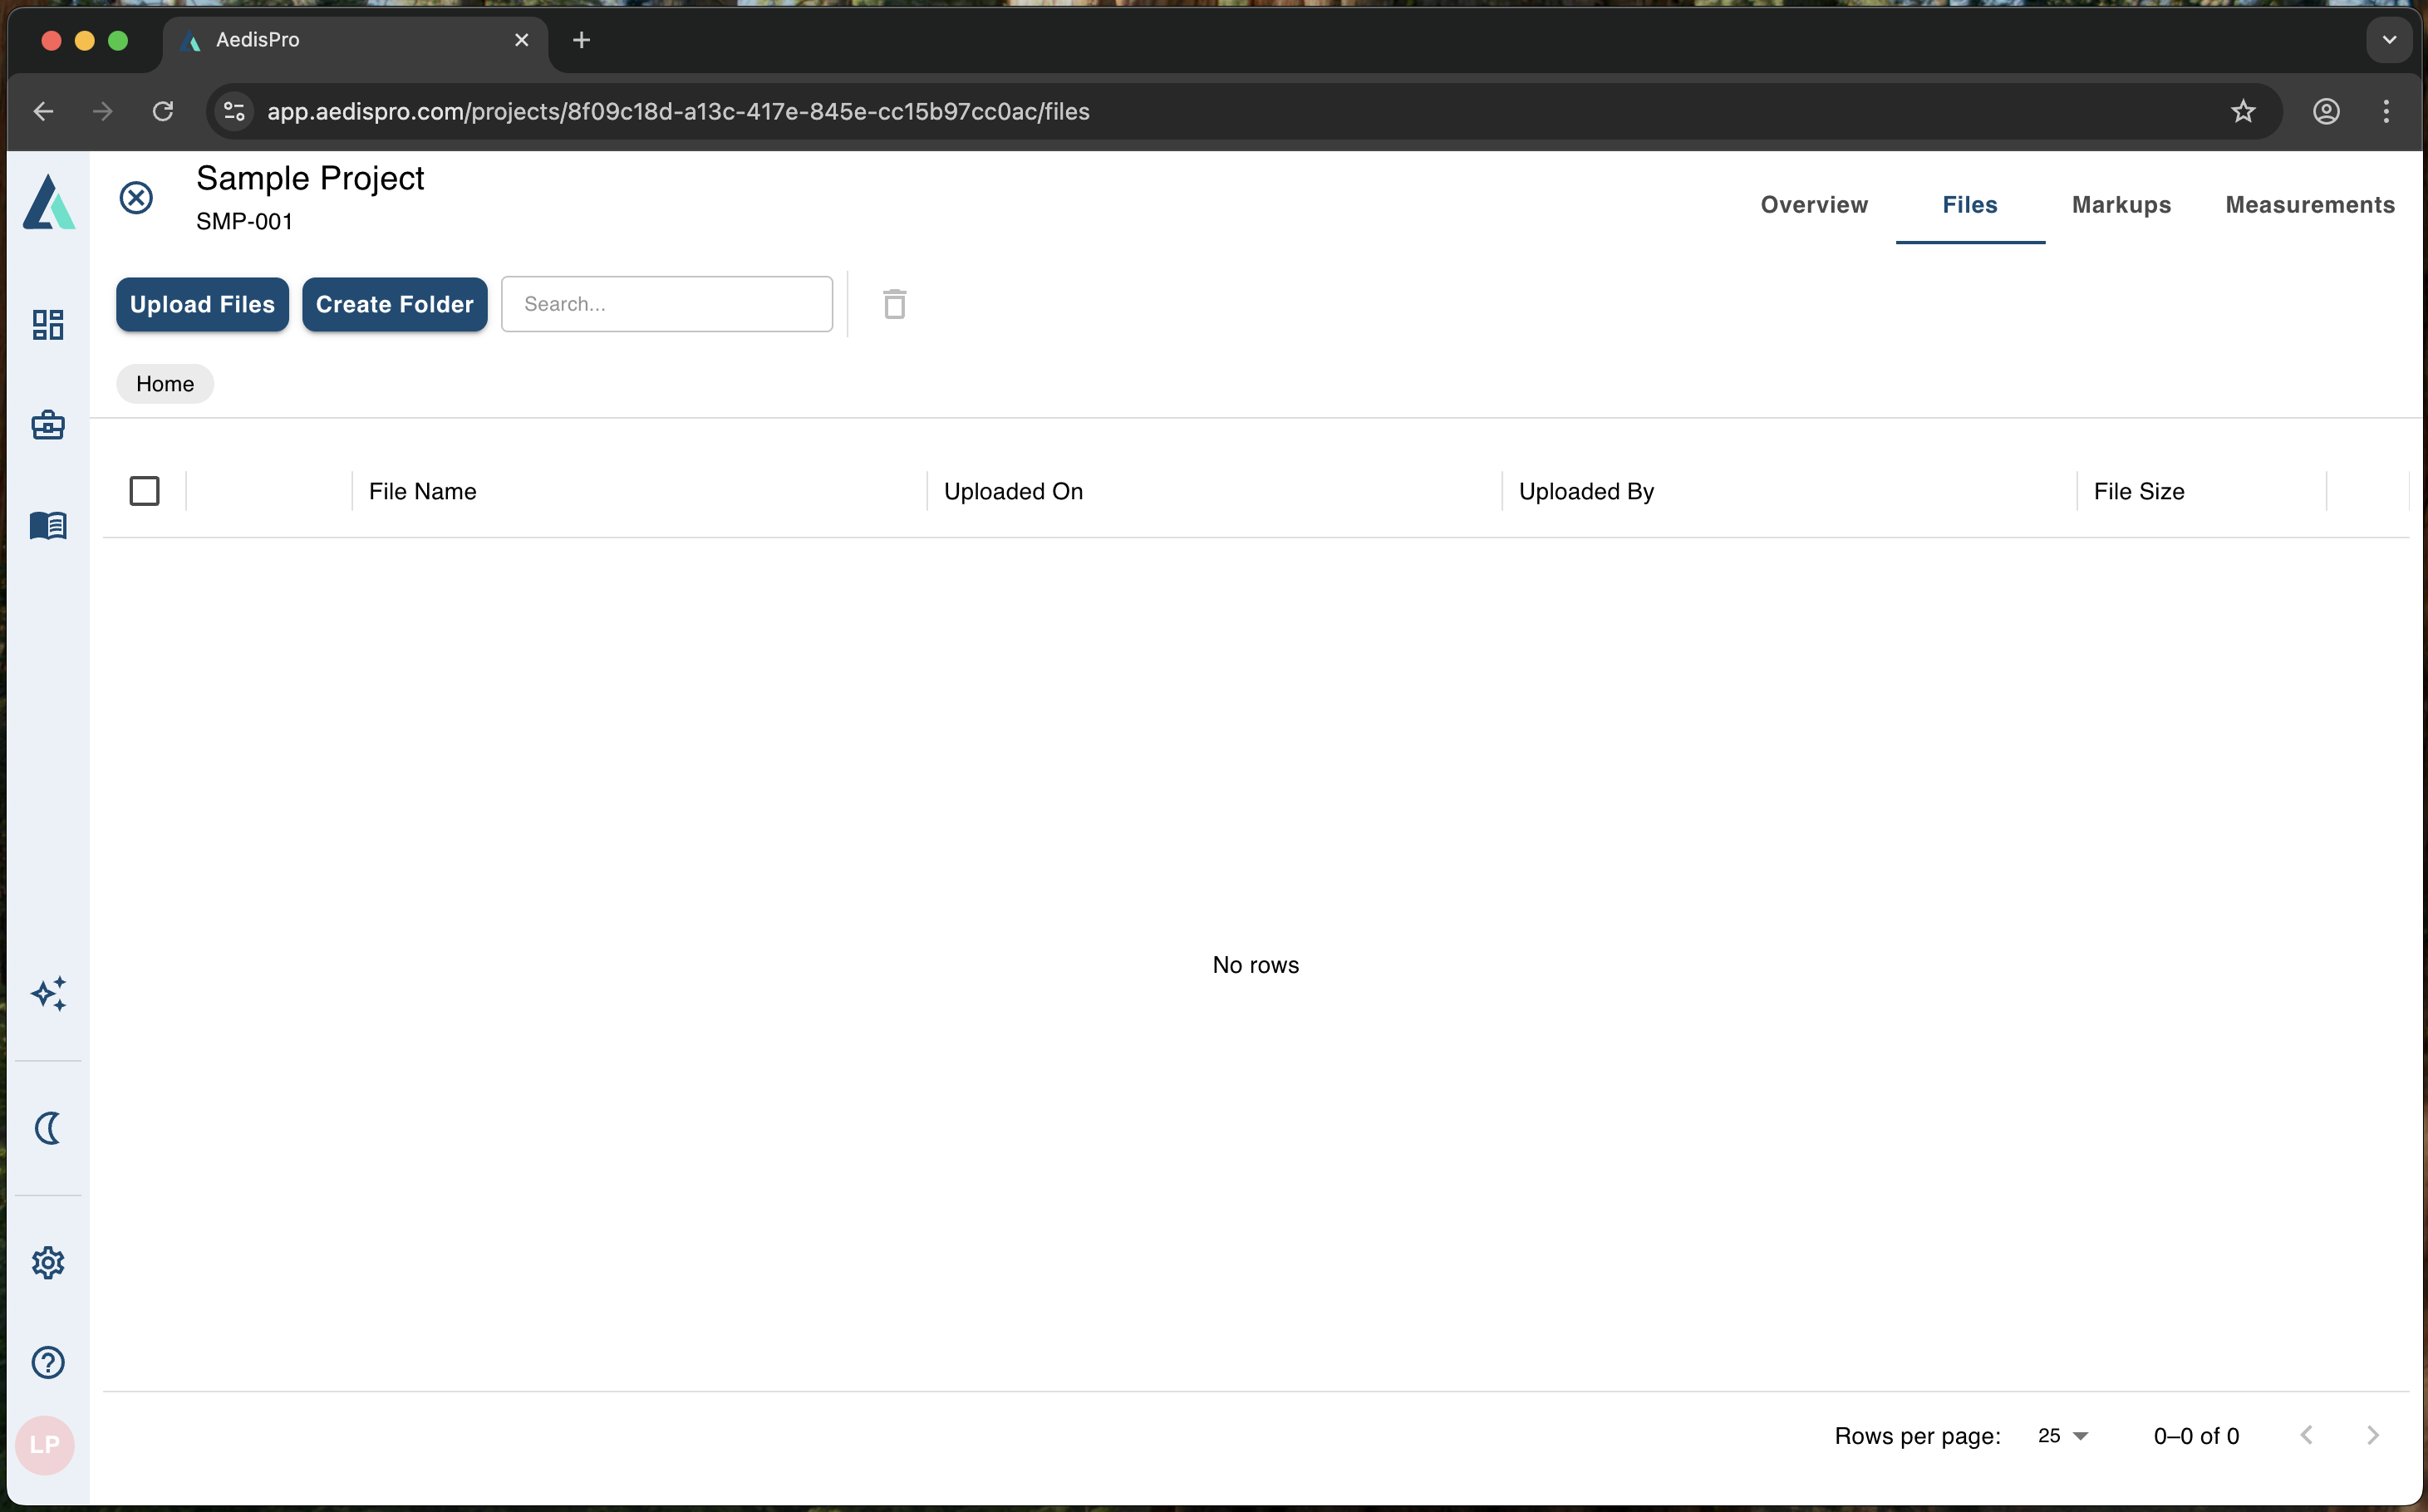
Files tab interface with upload options and file management tools
You will see:
- Upload Files button
- Create Folder
- Search bar
- File list with:
- File name
- Upload date
- Uploaded by
- File size
Uploading Individual PDF Files
- Click Upload Files.
- Select Select Files.
- Choose one or more PDF drawings from your device.
- Click Upload to complete the process.
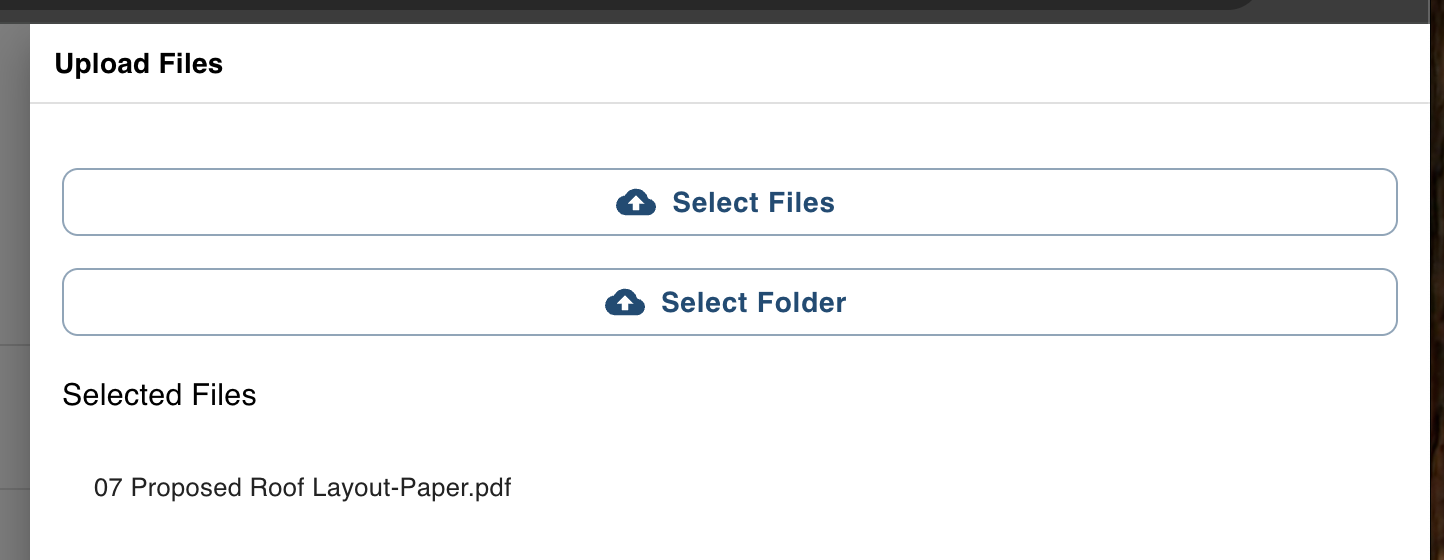
File upload dialog for selecting individual PDF files
Uploading a Folder of PDFs
AedisPro supports folder uploads to keep drawing packages organized.
- Click Upload Files.
- Select Select Folder.
- Choose a folder containing only PDF files.
- Confirm by clicking Upload.
Folder names and structure are preserved upon upload.
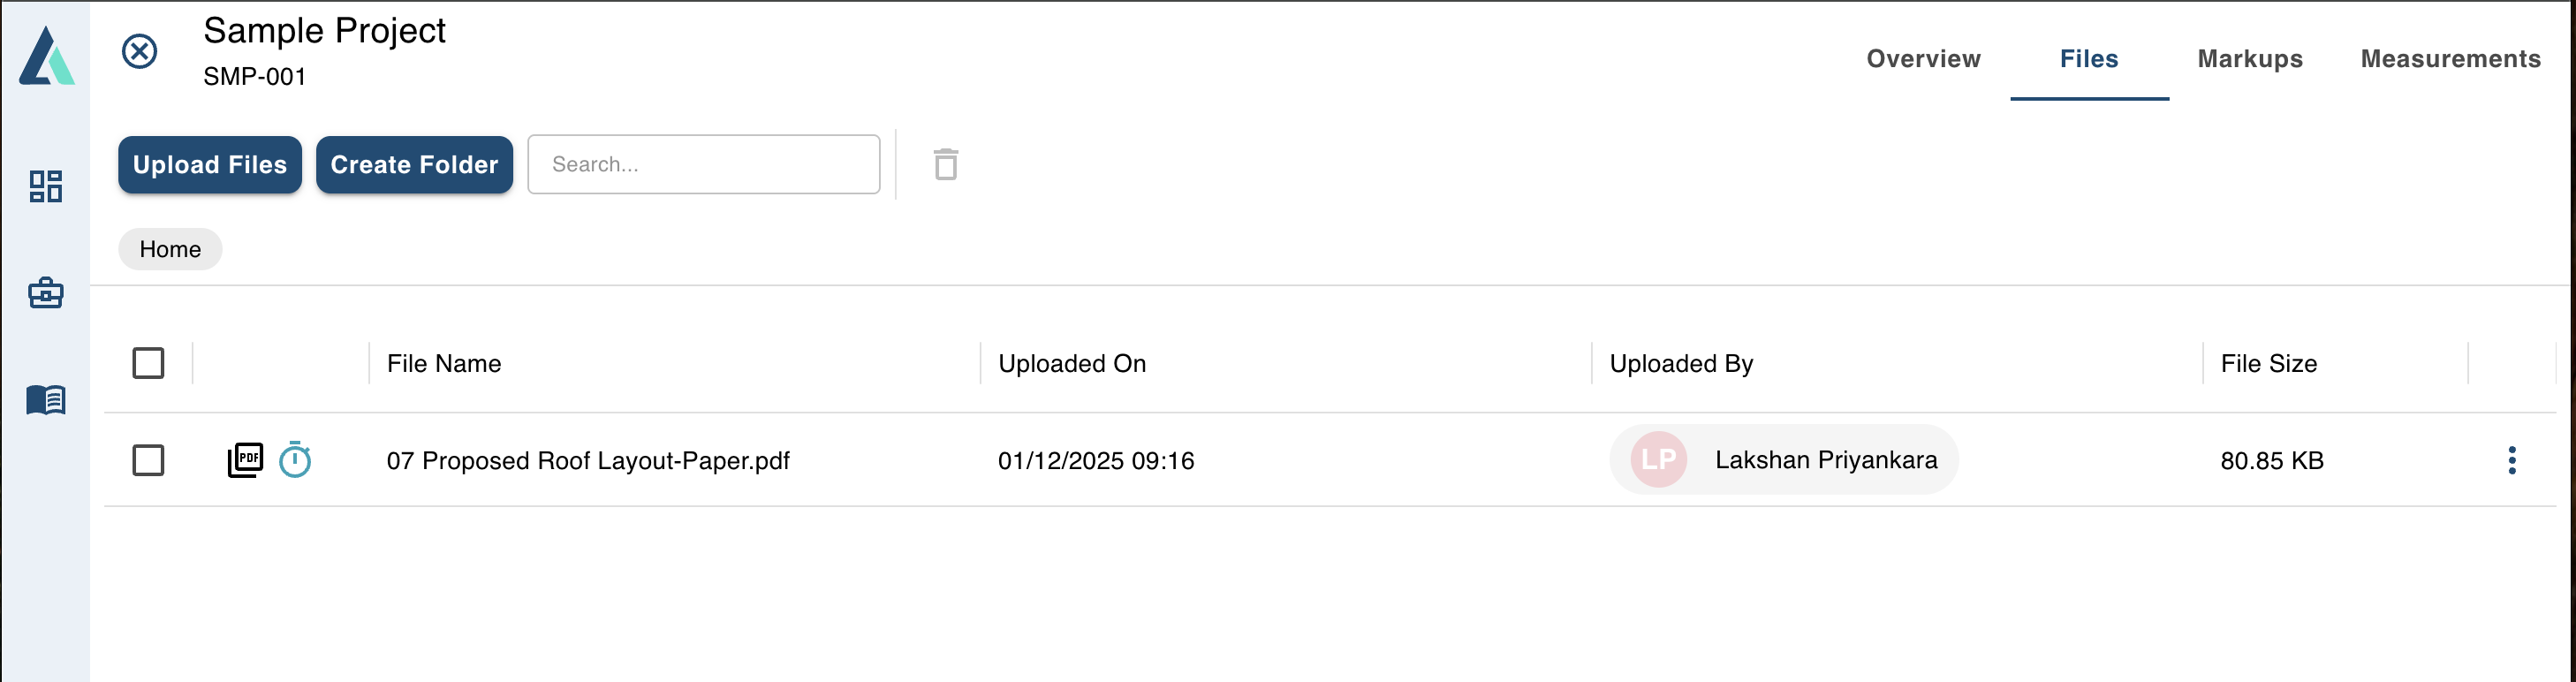
Files list showing uploaded PDFs with organized folder structure
Organizing Your Drawings
To maintain clarity and improve navigation, use folders to group your drawing PDFs.
Create a Folder
- Click Create Folder.
- Enter a folder name (e.g., Architectural, Services, Site Plans).
- Click Save.
Manage Your Files
- Move PDFs into folders
- Delete files when necessary
- Use search to quickly find sheets
Best Practice: Keep drawing names consistent:
- • A101 – Floor Plan
- • S105 – Slab Layout
- • M204 – HVAC Plan
Opening Drawing PDFs
To begin creating markups:
- Locate a PDF in the Files list.
- Click the file name or thumbnail.
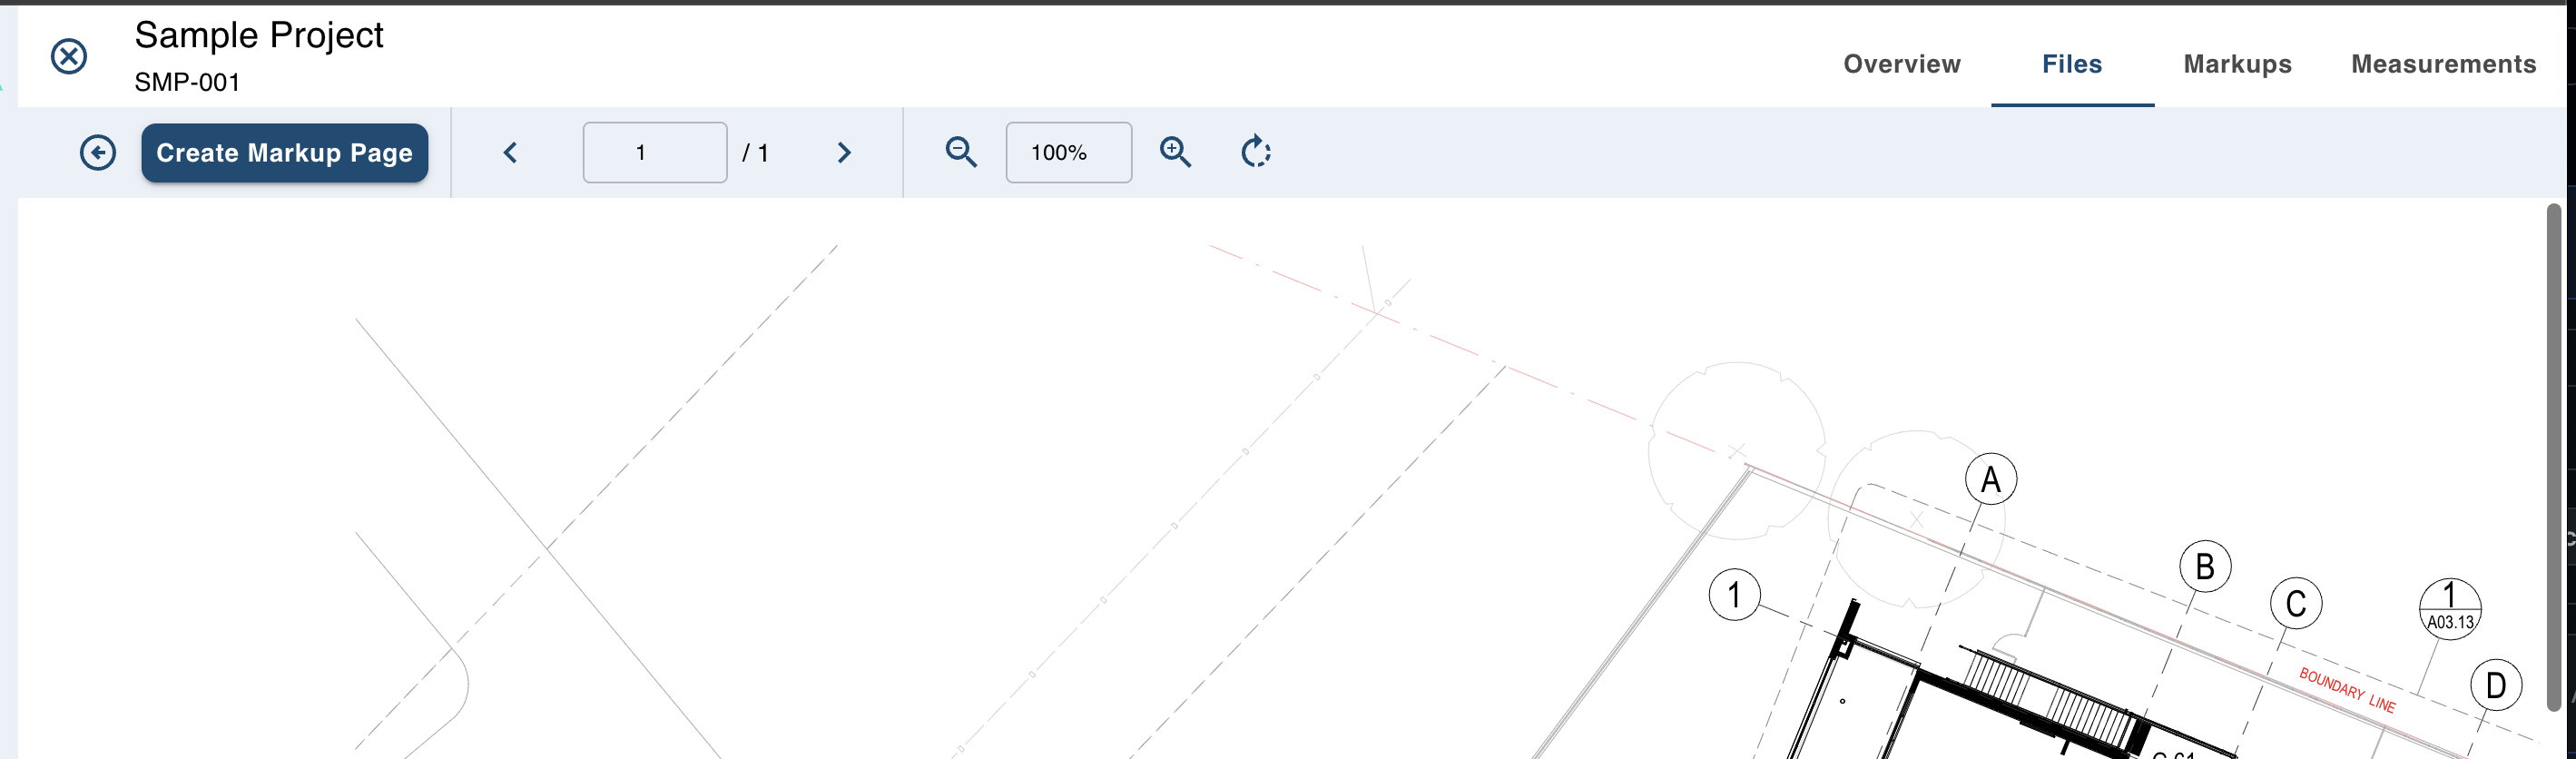
Drawing viewer with opened PDF showing navigation and markup creation tools
The PDF opens in the drawing viewer with:
- Page navigation
- Zoom controls
- Rotation tools
- Create Markup Page button
The viewer displays multi-sheet PDFs and allows you to switch between pages.
Creating Markup Pages
A Markup Page is required for all measurements.You cannot measure directly on the PDF.
Why Markup Pages Are Required
Markup pages:
- Act as a measurement workspace
- Keep your original PDF untouched
- Allow multiple measurement sets for the same drawing
- Enable collaboration without overwriting other users' work
How to Create Markup Pages
Markups can be created by selecting a PDF file from the Files tab and clicking the Create Markup button. This workflow allows you to create markup pages for single or multiple pages at once.
- Navigate to the Files tab in your project.
- Select a PDF file from the file list.
- Click the Create Markup button that appears.
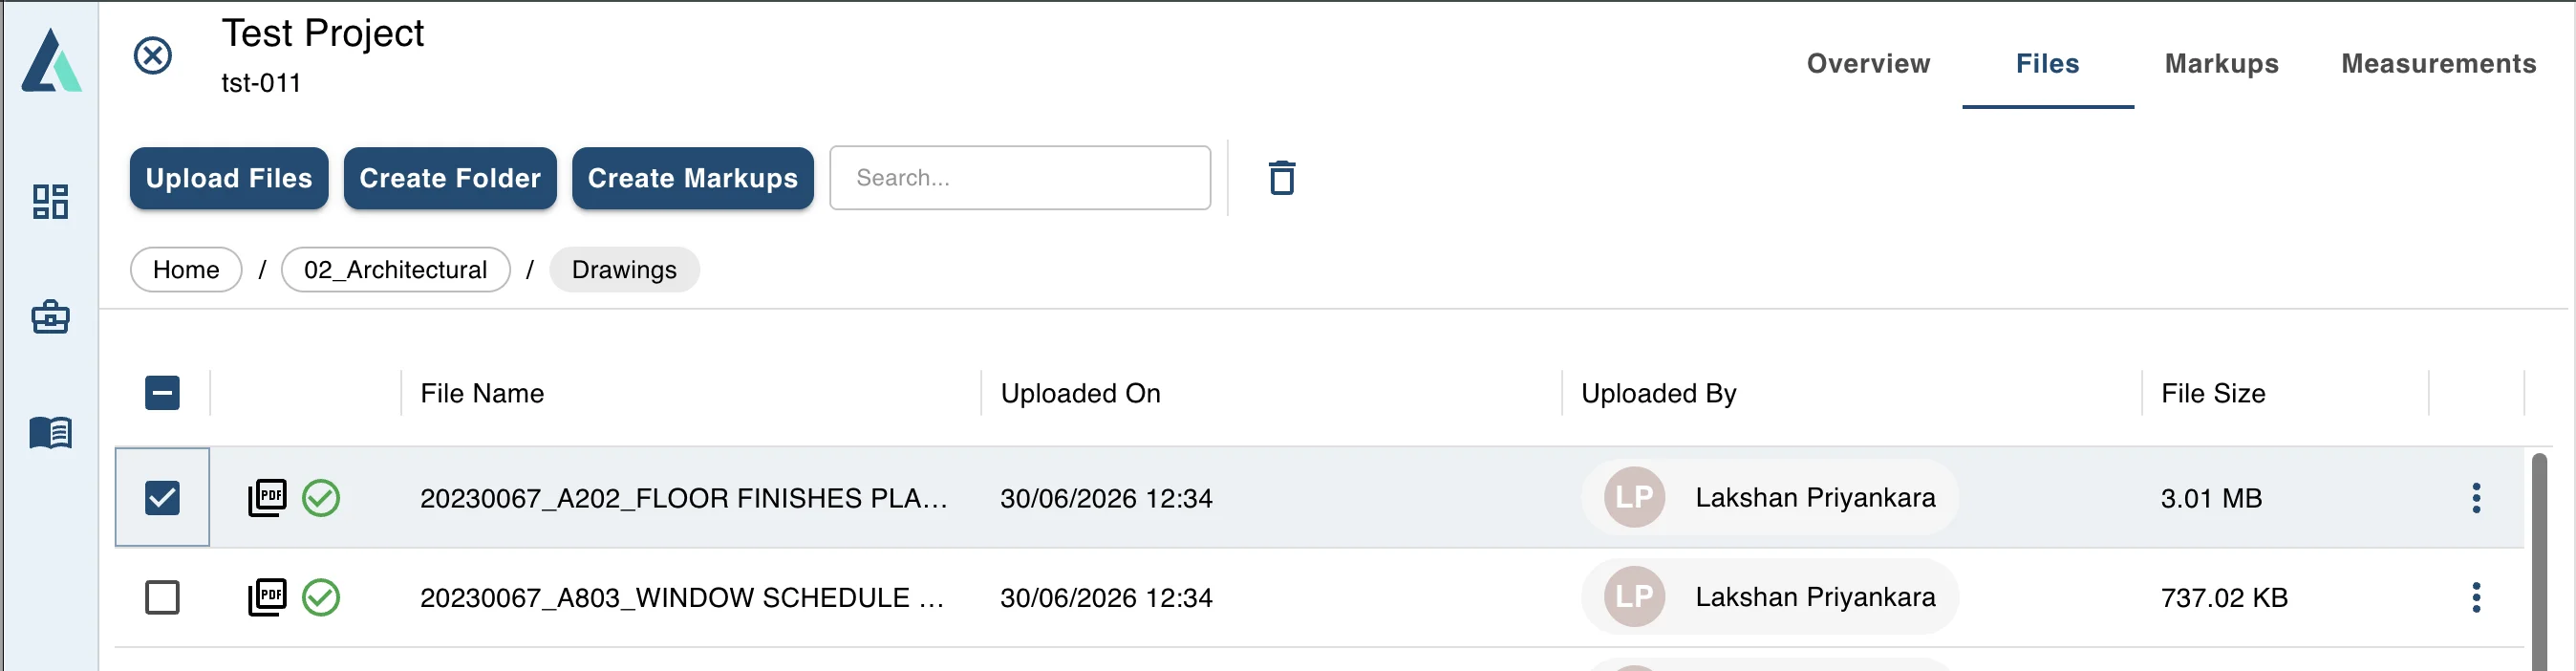
Selected PDF file with Create Markup button highlighted
Bulk Markup Creation
The Create Markup wizard allows you to select multiple pages from your PDF and create markups for all selected pages in one go—ideal for large drawing sets.
- In the markup creation drawer, browse through the PDF page thumbnails.
- Select which pages you want to create markups for (you can select multiple pages).
- Optionally add a prefix for auto-generated names and labels, or let the system generate them automatically.
- Click Create to generate all selected markup pages.
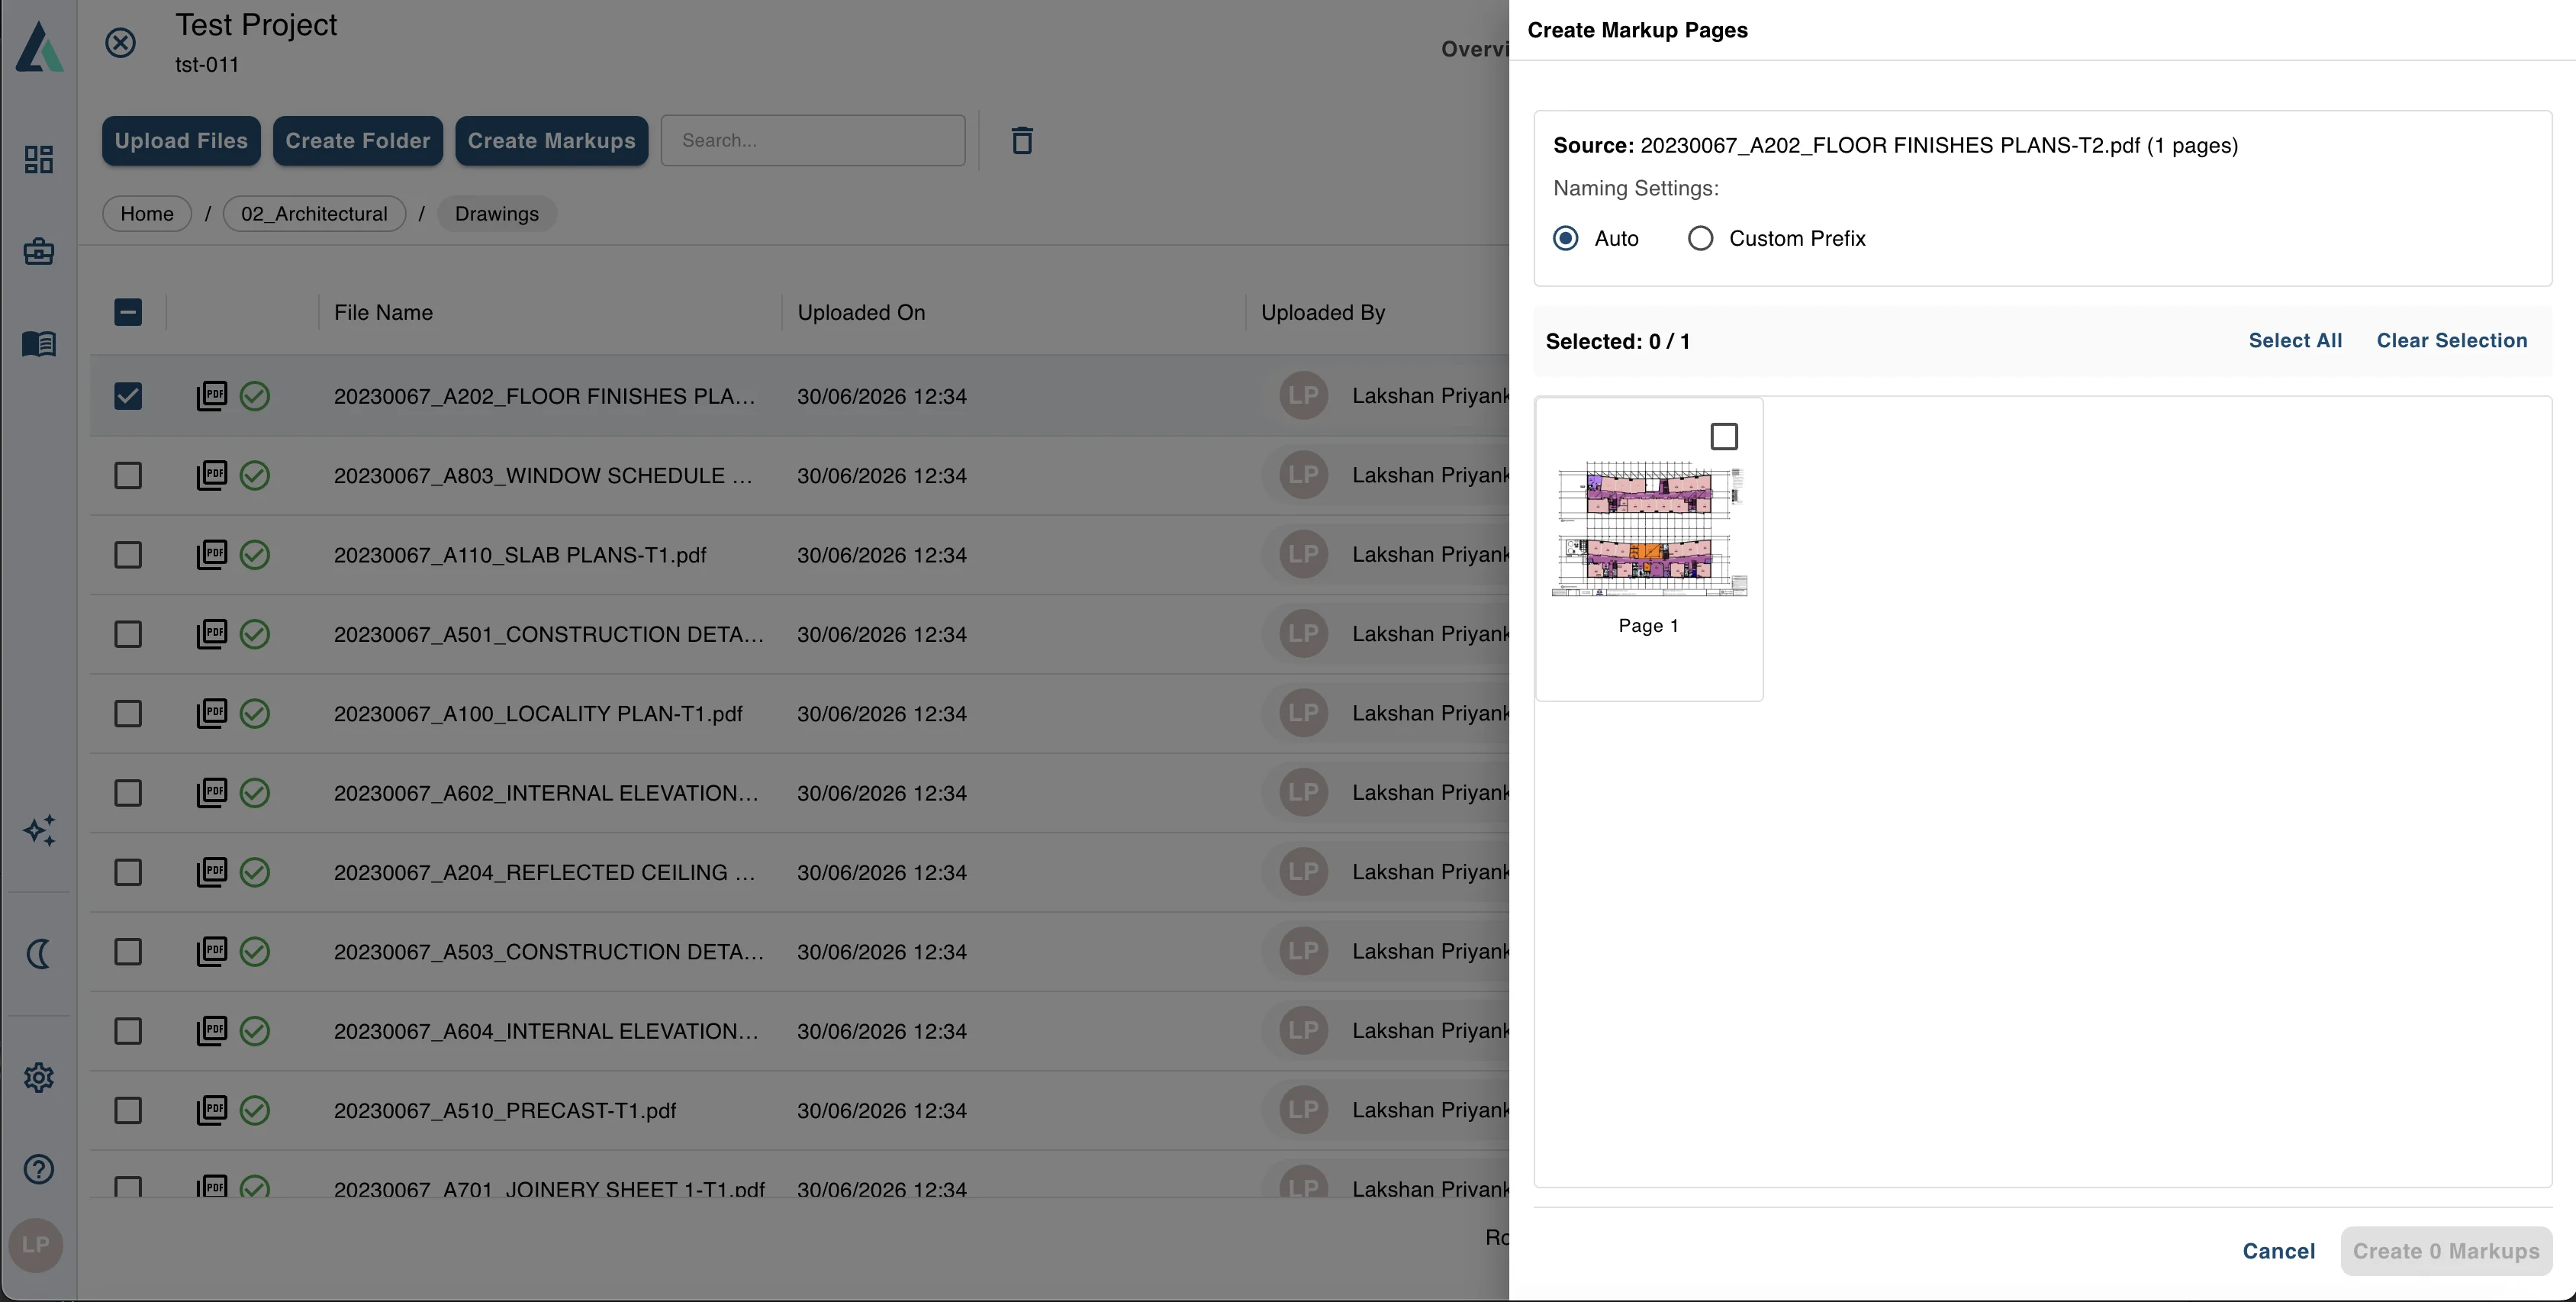
Markup creation wizard with page selection and bulk creation capabilities
Note: During bulk creation, you can add a prefix to help organize markup names, or use auto-generated labels. For more detailed customization (specific names and descriptions for each page), you can update individual markup details afterwards using the action menu in the Markups tab.
Tip: Use bulk markup creation to quickly set up your entire drawing package. Select all relevant pages at once to save time on larger projects.
All created markups become immediately visible in the Markups tab.
Managing Your Markups
The Markups section provides a visual list of all created markups.
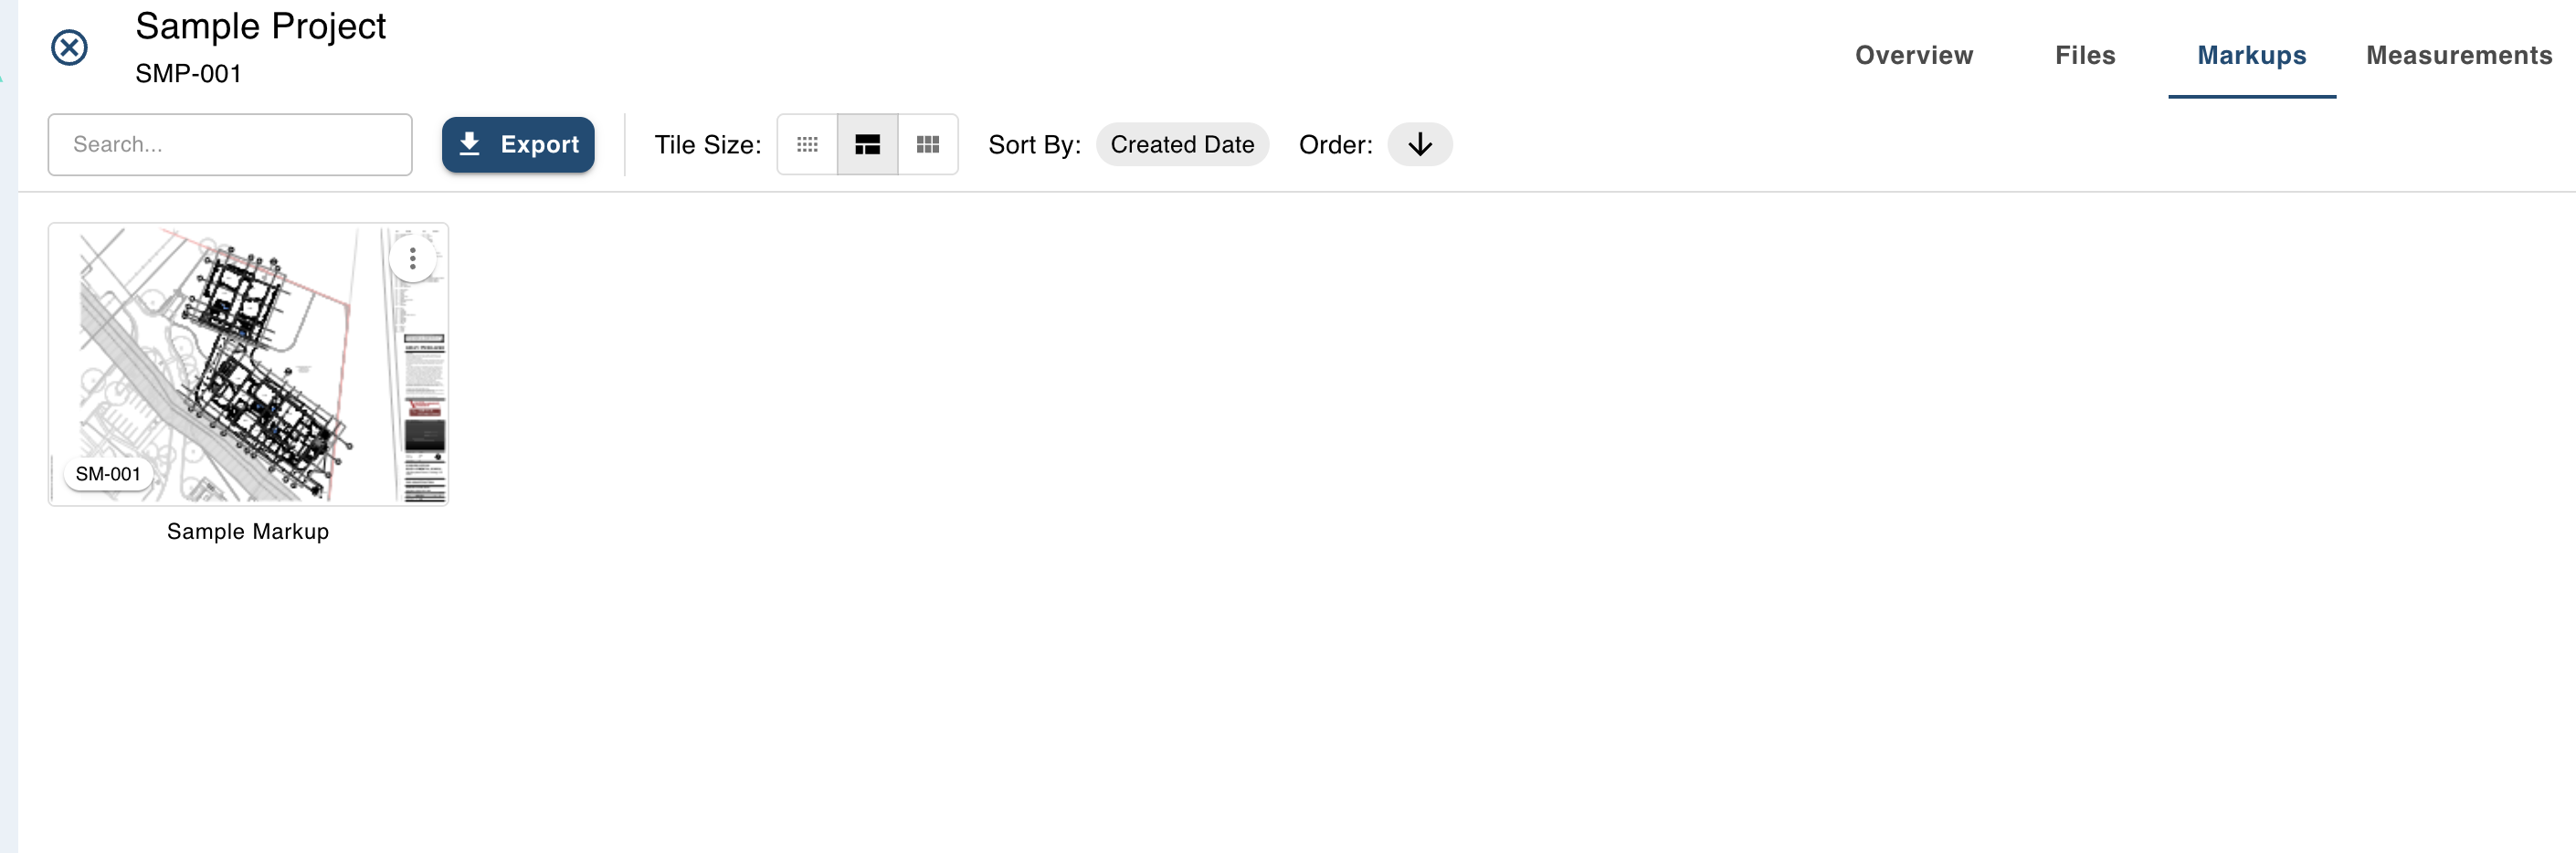
Markups tab displaying created markup pages with thumbnails and management options
Here, you can:
- Open markups
- Sort by date or name
- Change tile size (grid or list view)
- Export markups
- Rename or delete markup pages
- Preview markup thumbnails
Each tile shows:
- The drawing preview with your markup elements
- The markup name
- The label (e.g., Floor Plan)
Click a markup tile to open it and begin measuring.
Summary
- ✓ Only PDF files can be uploaded as drawings
- ✓ Upload via files or folders
- ✓ Organize drawings using custom folders
- ✓ Open PDFs to create Markup Pages
- ✓ Markup Pages are required before performing measurements
- ✓ Manage all markups through the Markups tab